Well, hey there! Thanks for checking out my very first post
on Attack the Craft!. I’m kind of a dork, so I’m very, very excited to be here,
and very excited to be talking about crochet!
I’ve really fallen in love with this craft since I picked it
up last summer. It’s relatively simple to pick up, affordable to get into, and
most importantly, you can create some remarkable texture with just a few
basic stitches! How cool is that?
Today
we’re going to be talking about one of my absolute favorite textures: the
Braided Crochet Stitch. It’s very similar to a cable crochet, but with an extra
step. I personally love using really chunky yarn with this stitch. Even
people several feet away can see how awesome and crafty you are! In my
experience, this looks best with a lighter yarn (but still looks great with
something darker!), so that you can really see the shadows created by all that
depth.
Seriously,
just look at all that gorgeous texture!
You will need to possess some basic knowledge in order to do
this with relative ease:
l Double
Crochet Stitch
l Triple
Crochet Stitch
l Front-
and Back- post Stitching.
There are many wonderful resources available to learn these
stitches, both online and in books; however, I would be more than happy to
write a post or two on the basic how-to’s if someone requests it.
You will need some basic materials to get started:
l Yarn
of your choosing
l A
crochet hook of the appropriate size. (You’ll find a hook size suggestion on
the packaging of your yarn, most likely)
l Scissors
l A
large embroidery or darning needle. (The eye should be large enough to thread
your yarn through)
Step 1: Make your chain. It should be a multiple of 8+4. For
the practice pictures, I started with a chain of 20.
Step 2: Turn, and double crochet across. The last two
stitches in your chain count as your first double stitch.
Step 3: Turn, Chain 2. This counts as your first double
crochet.
Step 4: Back-post double crochet (bpdc) the next stitch.
This will add some lovely depth to your work, so that everyone can really see
all that texture we’re going for.
[Sorry, I know this one is a little blurry. I’m a newbie at this.]
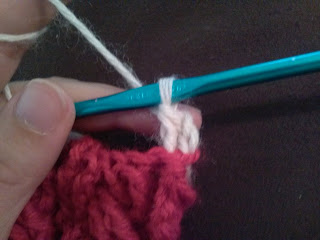
Step 5: Skip the next two stitches, and front-post triple
crochet (fptc) the third stitch from your bpdc.
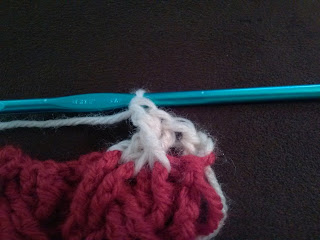
Step 6: Fptc the next stitch.
Step
7: Remember those two stitches you skipped? Go back to them. Fptc them in
order, over top of the two fptc you completed in steps 5 and 6.
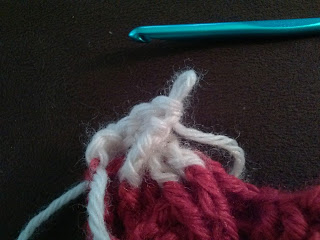
Step
8: Skip to the next two stitches that have not been crocheted in this row.
Front Post double crochet (fpdc) both.
Step 9: Bpdc the next two stitches. Again, this is to give
depth to the cables you are working so hard to create!
Step
10: Repeat steps 5-9 to finish the row. Turn and chain 2. This counts as your
first dc.
Step
11: Working on the back is exactly the same as working on the front, except
that all of your front posts become back posts, and vice versa. Fpdc the next
stitch.
Step
12: Skip the next two stitches. Bptc the two that follow.
Step
13: Return to the first stitch that you skipped. Bptc this stitch, making sure
that it lays over the last two stitches that you did.
Can’t really see much from this side, I know, but it’s hiding back
there, I promise!
If you look at the flip side of your work, you’ll be able to see the
stitch much better. Right where it should be!
Step
14: Bptc the next skipped stitch.
Again, can’t see much from this side
This is what you’ll see on the flip.
Step
15: Bpdc the next two stitches.
Step
16: Fpdc the next two stitches.
View from your current side.
And from the front.
Step
17: Repeat steps 12-16 to complete your row.
Step
18: Continue adding rows until your project is the length that you desire.
Step
19: When you have finished, chain 2 and turn your work. Dc across.
Step
20: Chain 1 and turn. Sc across. Fasten off. Weave in your ends.
Step
21: Admire your work. You did great!
For real, that depth and texture can’t be beat!]
Now
that you’ve practiced, go and make yourself something fabulous! Don’t forget to
post pictures in the comments to show off what you’ve made!


No comments:
Post a Comment